dessert

Butter/Oil Free Blueberry Banana Bread

Butter Free Blueberry Banana Bread

Been away for a few weeks..apologies are in order! I have countless numbers of ripe bananas in the kitchen right now, and over the weekend I decided to make banana bread with them. I found this recipe on noshandnourish.com, and it was perfect because I also had blueberries that had been sitting in the fridge as well! This coming weekend I think I’m going to try this recipe again, but substitute mangoes instead..mmm….

This recipe was right up my alley for several reasons:

  1. No butter
  2. No oil (except for spraying the pan down, but parchment paper could easily do the trick)
  3. No processed sugar (agave was used)

Butter Free Blueberry Banana Bread
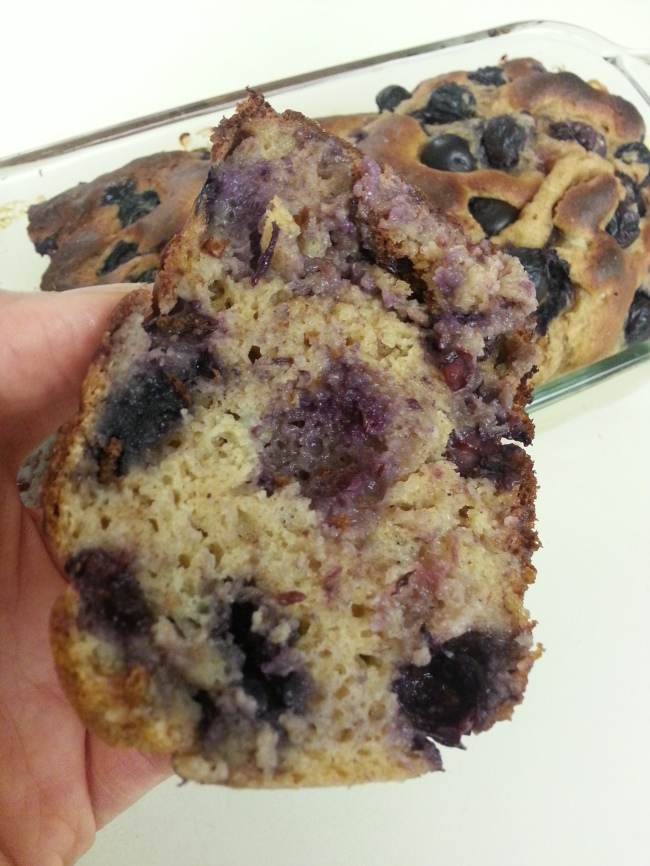
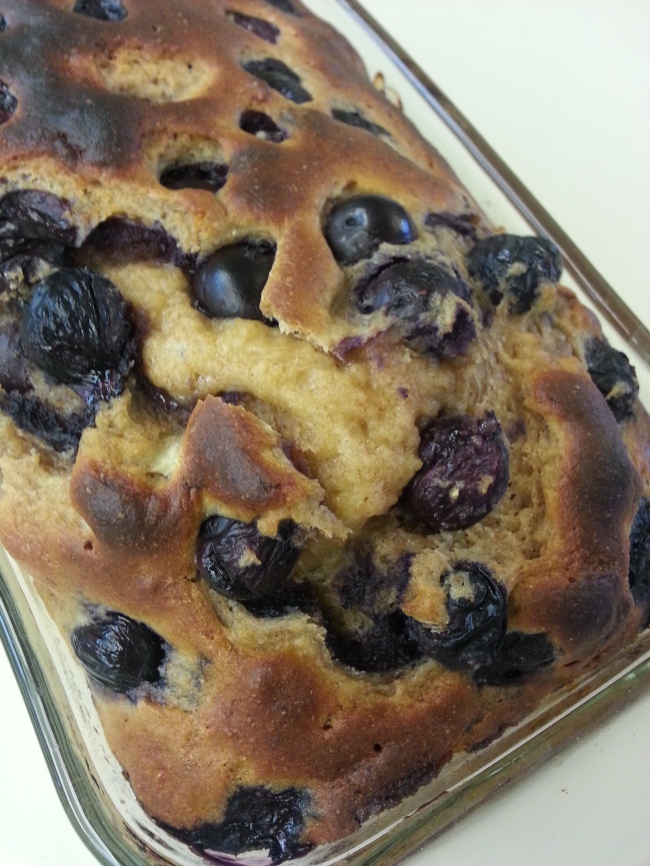
I’m going to put it out there right now, that it tastes much better and it also way easier to slice once it’s been fully cooled; ie If you baked it at night, it would be perfect the next day. But knowing myself, I let it sit for about 15-20 minutes before I cut a slice to try. It was delicious; the blueberries were full of flavour, and the bread was perfectly moist. This recipe doesn’t produce the normal brown veiny little lines that are present in other banana breads, but trust me when I say the taste is still there! Hope you all enjoy this recipe 🙂

Butter/Oil Free Blueberry Banana Bread
Yields 1 large 9×5 loaf pan

Ingredients:
1 3/4 cup whole wheat flour
1 1⁄2 tsp baking powder
1⁄2 tsp salt
1⁄4 cup agave
1 tsp vanilla extract
2 mashed ripe bananas
2 eggs
3/4 cup Greek yogurt
1 cup blueberries (fresh or frozen)

Directions:
Preheat oven to 375°F.  Combine the flour, baking powder and salt in a large bowl.

In a medium bowl, take the mashed bananas and combine it with the eggs, vanilla and agave thoroughly.

Add the Greek yogurt, and whisk until the mixture is free of lumps.

Pour the wet ingredients into the flour mixture, and mix until just combine (do not over mix!)

Fold in the blueberries with a spatula.

Pour the batter into a greased loaf pan, and distribute evenly.

Put into the oven and bake for one hour, or until the top is golden brown and a toothpick comes out clean.

Transfer to a cooling rack and let it cool completely before slicing.
Easy Raspberry Chia Jam Pie

Raspberry Chia Jam Pie

I came across a few jam recipes over the long weekend, that uses only a handful of ingredients that can easily be pronounced (with the exception of agave..a-gave; ah-gah-vay??), and then I remembered the ready-to-bake pie crust that’s been sitting in the freezer. Naturally, my mind came to the conclusion that: 1) Yes, in fact, I am craving something sweet; 2) Go do something with your free time and bake something!

Raspberry Chia Jam PieRaspberry Chia Jam Pie

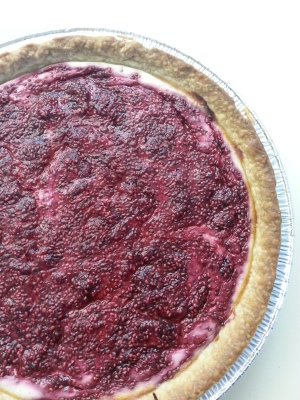
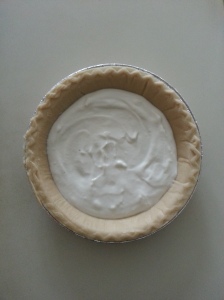
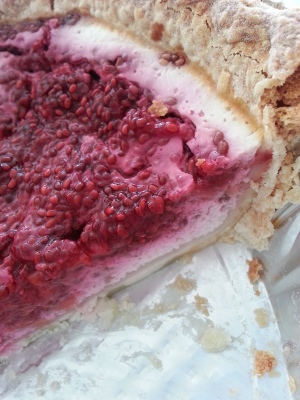
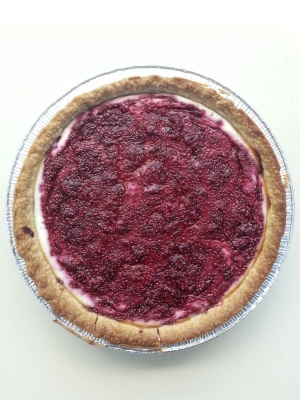
I decided to make a super easy pie with a raspberry chia jam, sitting on top of an even easier Greek yogurt filling. Raspberry jam, sweet yogurt filling, pie crust. Deliciousness with very little guilt. The yogurt filling kind of acts as a custard-type filling, to give the pie a firmer structure. I completely winged the yogurt filling; added some almond milk, bit of sugar for sweetness, maybe some vanilla (I don’t even remember..), so when making the filling you feel that you need more, definitely go ahead and add more yogurt.

Raspberry Chia Jam Pie

I intended to wait until the pie fully cooled down before slicing and tasting, but because it’s me, it didn’t work out..I will say though, it definitely tastes better when it’s been fully cooled, so that everything sets and nothing is runny. It’s even better the next day, after putting the pie in the fridge to fully set!

Raspberry Chia Jam Pie

Easy Raspberry Chia Jam Pie
Serves 6-8 (10 for the portion control eaters ;))

Ingredients:
Raspberry Jam:
2 cups frozen raspberry (fresh will work as well)
3 tablespoons chia seeds
2-3 tablespoons agave syrup
1 teaspoon vanilla extract (optional)

Greek Yogurt Filling:
1 cup Greek yogurt
1/8 – 1/4 cup almond milk
Sugar for desired taste
1 teaspoon vanilla extract (optional)

1 frozen deep dish 9″ pie shells (I used Tenderflake; feel free to use one that’s homemade)

Directions:
Make the jam: Put the raspberries in a pot or small pan, and bring to a low boil, stirring frequently. Reduce heat to low, and let berries simmer until they begin to soften. As they begin to let their juices out, you may or may not need to mash them up (you don’t have to mash them thoroughly, chunks can be left in for texture). Stir in chia seeds, agave syrup and vanilla. Continue cooking them on low heat and stir from time to time, until the mixture begins to thicken up to jam consistency. Feel free to add more agave, to your desired sweetness.

Preheat oven to 425ºF, and take frozen pie shell out the freezer.

In a bowl, combine Greek yogurt filling ingredients, starting with 1/8 cup of almond milk. Mix until combined; consistency should be that of a ranch or cesar dressing. If it’s too thick, go ahead and add more milk. Taste to make sure it’s sweet enough.

Pour Greek yogurt filling into the pie shell, and use a spatula to spread evenly.

With the slightly (or completely) cooled down jam, pour evenly on top of the Greek yogurt filling, and carefully spread it evenly as well. You can make swirls with a toothpick or knife throughout the pie to get a contrast of the red and white.

Bake in the oven for 45-55 minutes; keep an eye on it so the crust doesn’t burn. You’ll know it’s ready when the pie shell turns to a golden brown colour.

Let it cool completely on a wire rack before slicing. Store in the refrigerator, for an even tastier treat the next day!